With a little work now, you’ll be rewarded with a healthier and more colorful garden next spring.
In the fall, most perennials start winding down and going dormant for the colder months. We show you how to winterize perennials so they’ll come back in good shape next spring. A little work during the pleasant autumn days will set you up for a lush, healthy perennial garden once the weather warms up again. However, don’t be tempted to start winter preparation too early. Wait until temperatures consistently stay on the cool side and plants have mostly stopped growing. Then, use these tips to tuck your perennials in for a long winter’s nap.
1. Take Stock

The end of the growing season is the perfect time to assess the perennial garden. All the successes and challenges will be fresher in your mind than next spring, when your memories of the previous season may have faded. Look with a critical eye, pairing your vision for the space with how the plants are growing.
Which perennials thrived? Which ones struggled, and can any of those plants be moved to a better spot? Are there planting areas that need a burst of color in a particular season? Take time to walk through the garden and make notes.
2. Remove Weeds
As your perennials begin slowing down, some weeds that prefer cooler weather start flourishing, and many weeds can overwinter. Even tiny weeds have the potential to quickly turn into monsters next spring. Ruthlessly move through the garden, pulling or digging unwanted plants out by the root. If weeds are tough to pull up, water the area deeply to loosen the soil, which allows roots to slide out more easily.
3. Water Well
For most plants, fall hydration is critical for overwintering success. Thoroughly water the garden before the ground freezes if your area experiences a dry autumn and soil feels dry to the touch two inches or so below the surface. Letting a sprinkler run for a while in your perennial beds is a good way to make sure water soaks deeper into the soil than just giving everything a squirt from the hose. Conserve water by carefully applying water directly to the roots of the plant.
4. Clean Up Diseased or Damaged Foliage
It’s best to cut back plants plagued by insects or disease to ground level. Removing affected foliage is a valuable tactic in preventing the pest or disease from returning next year. On the other hand, leave healthy perennials standing in the garden through winter. Their foliage provides some insulation for the plant’s crown, or growing point. Also, the leaves and stems offer valuable shelter for beneficial insects and animals, and seed heads are winter buffets for birds.
5. Mulch Perennials Selectively

Not all plants need an extra layer of mulch to make it through winter. Mulch can be detrimental to some plants, trapping moisture against stems and leading to rot. There are three situations where mulch is recommended:
- Newly planted perennials. Perennials you may plant in the fall haven’t had a chance to develop deep root systems, so they benefit from an insulating layer of mulch.
- Tender perennials. Plants sensitive to the coldest temperatures in your area can often survive winter when a blanket of mulch protects their roots.
- Areas that experience frequent freeze-thaw cycles. Most prevalent in USDA Hardiness Zones 7 and 8, temperatures in winter may have wide swings, causing soil to expand and contract. This can result in frost heaving, which means that plants are pushed out of the ground, exposing their roots to harm.
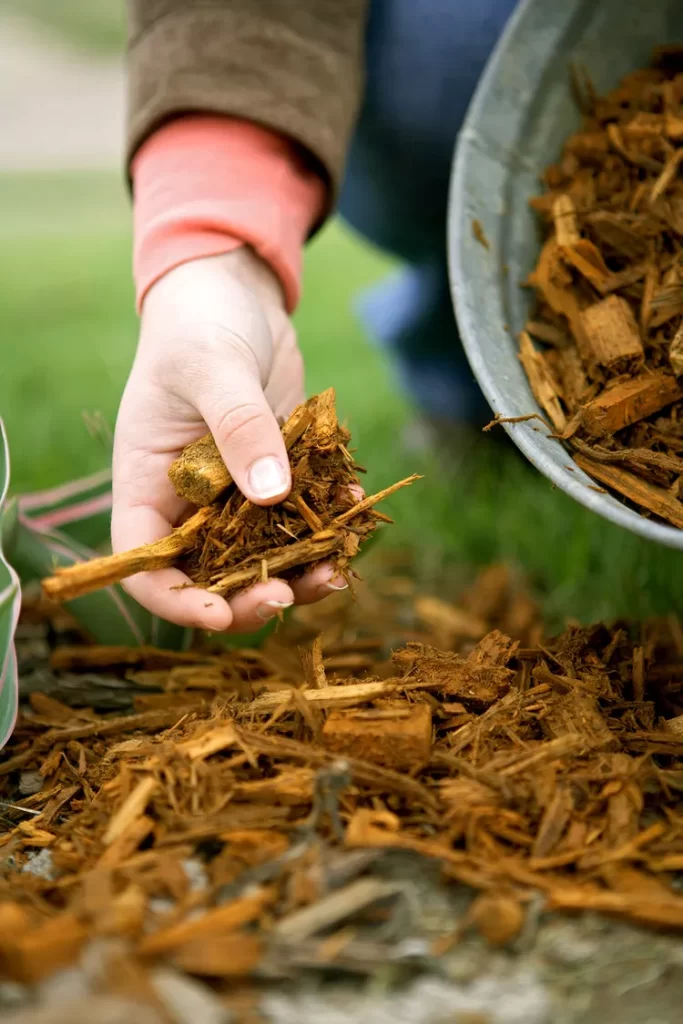
The best time to mulch perennials is after the top 1-2 inches of soil has frozen. The mulch provides insulation, keeping the soil consistently cool through winter. Loose organic mulch, such as shredded leaves, bark chips, pine needles, and straw, is a good choice for helping perennials survive winter.


