Seed balls are an easy and sustainable way to grow clusters of plants anywhere you please—and they are as simple to make as mudpies!
Clay soil is the bane of many gardeners, but there’s at least one good thing you can do with the sticky stuff: make seed balls. The process is simple and fun as patting mud into delectable fantasies or rolling modeling clay into snakes. Making seed balls entails mixing a few easy-to-grow seeds with soft clay and shaping little balls.
Seed balls make it easier to plant seeds, especially if you’re sowing small seeds that are difficult to see and handle. Coating seeds with clay also protects them from being washed away by rain or eaten by birds. Use one finished seed ball per small container, or use the balls to plant clusters of annuals in a garden.
What You'll Need
Equipment / Tools
- 1 Mixing bowl
- 1 Measuring cup
- 1 Spoon
- 1 Drying rack
Materials
- 1 Fresh clay soil or dried clay
- 1 Compost
- 1 Water
- 1 Seeds
- 10 Plant labels
Instructions
1.Create Clay Mixture
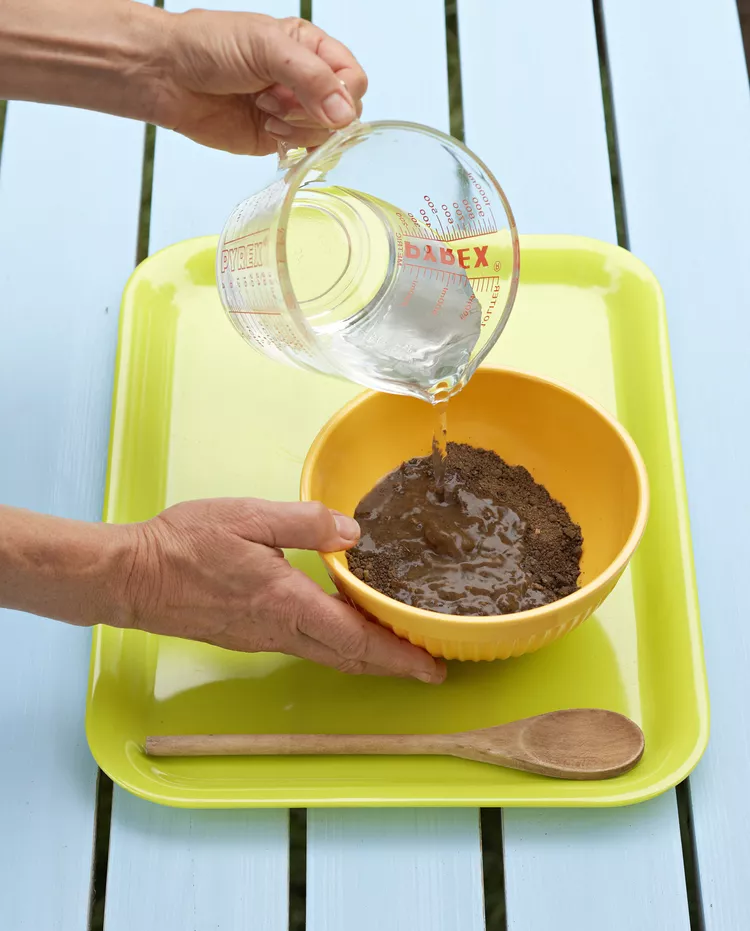
If you don’t have clay soil in your area, start with dried clay from a local ceramics supplier or online source. Mix two parts dried clay with one part compost. Add enough water to make it a soft and malleable consistency.
2.Mix Clay Thoroughly
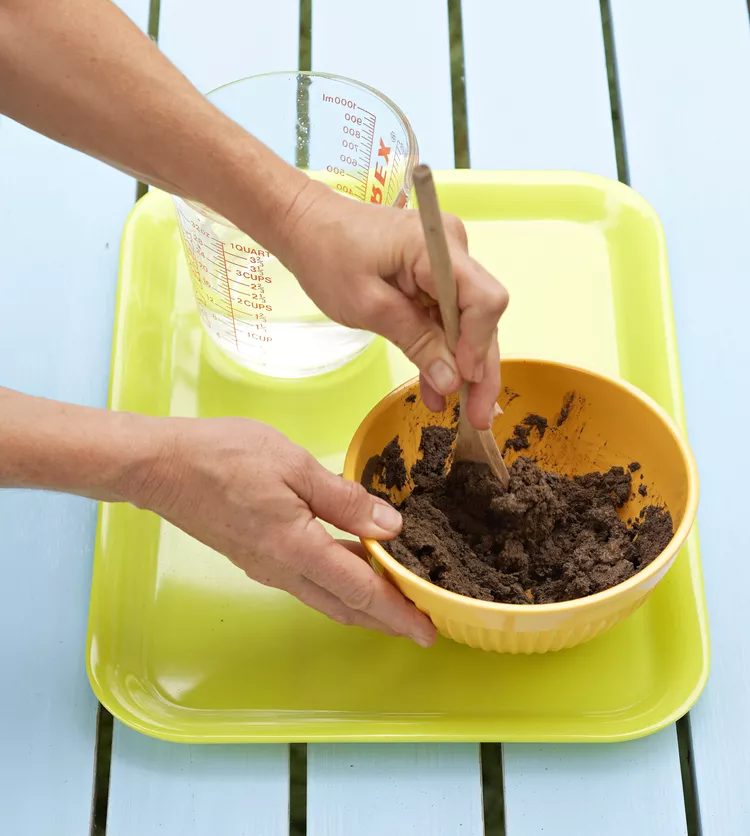
Mix the clay with your hands or stir it until it is the proper consistency for rolling. If your clay is too runny, add dried clay. If your clay is too stiff, add water.
3.Roll Clay Balls
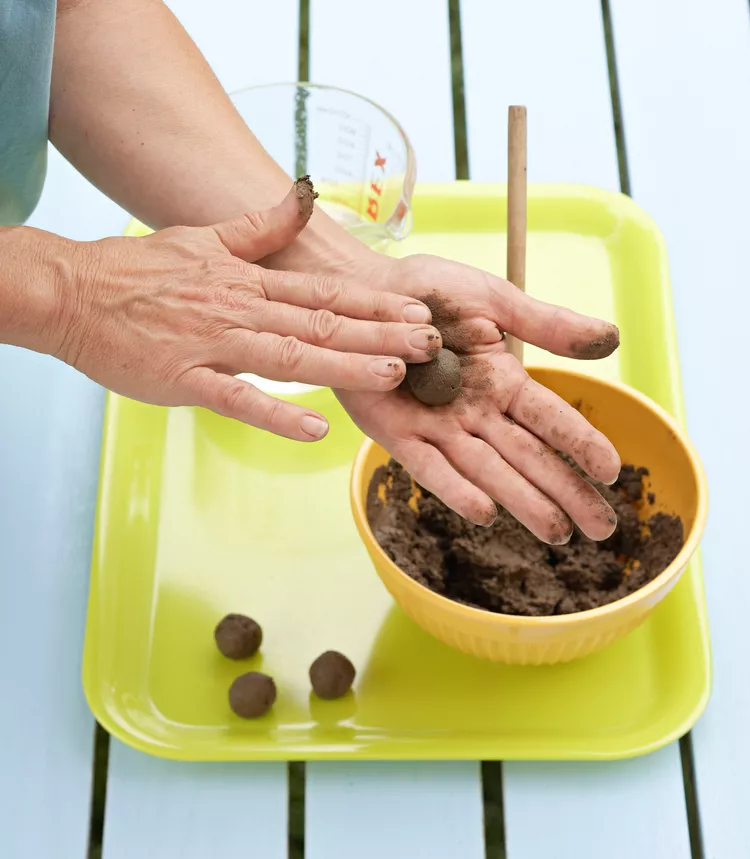
Roll the soft clay between your palms to form walnut-sized balls (about 1 inch in diameter). Place finished balls on a tray.
4.Press In Seeds
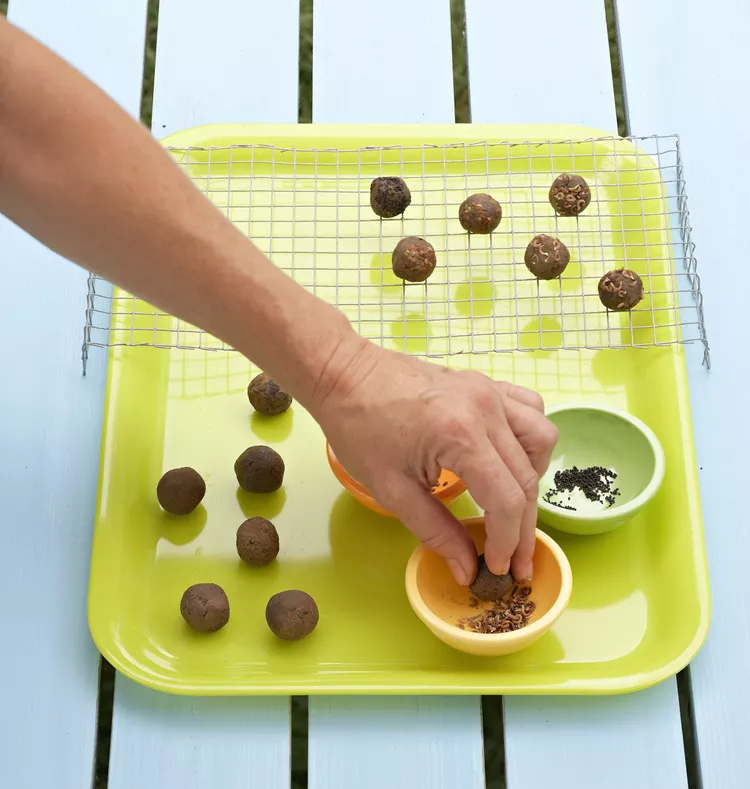
Press 20-30 seeds into each clay ball. Reshape the ball, working the seeds into the clay. Set the balls on a rack to dry for several days in a warm, airy place. Store away from heat and moisture.
5.Plant Seed Balls
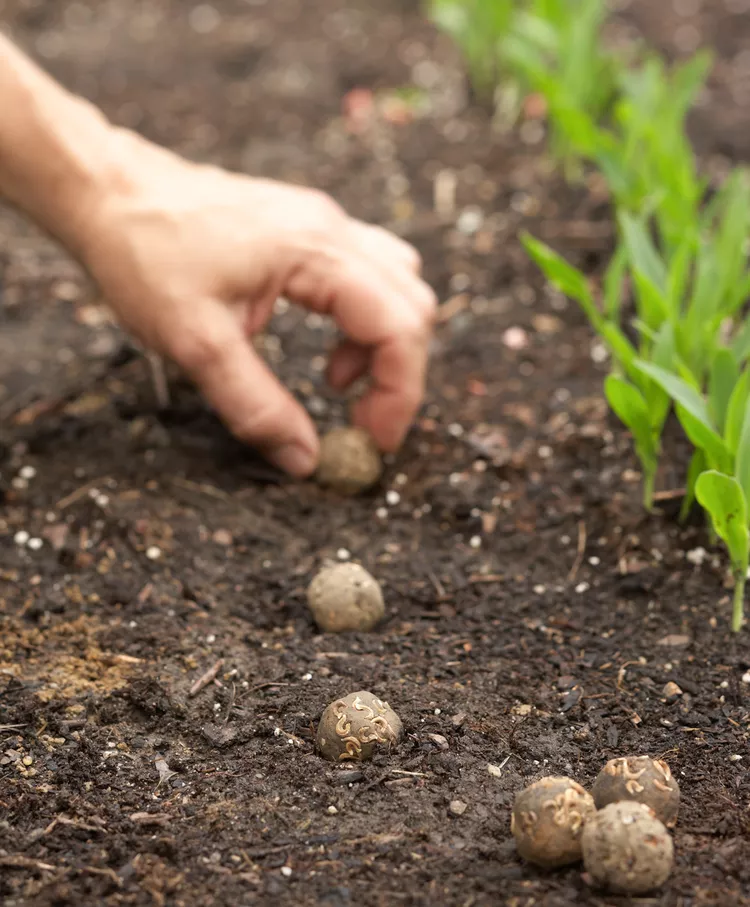
Once seed balls are dry, plant in desired location. Due to the nature of seed balls, you’ll end up with clusters of plants when they start to germinate. Add plant markers to seed ball locations if desired.


